This “Getting started” serie is split in 4 parts:
- Installation and configuration
- Routing: the basics
- Setup “twentynineteen” assets
- WordPress routes
At the end of this tutorial, you’ll have built a simple blog using the Themosis framework and created a custom theme based on the WordPress Twenty Nineteen official theme.
Each tutorial is accompanied by a video and all the steps and details are also included in the article. If you have any questions regarding the tutorial and its content, feel free to leave a comment.
Video
Tutorial
Requirements
In order to install a fresh copy of the Themosis framework, you first need to make sure that your machine has PHP 7.1+ installed as well as Composer.
At the time of this recording, I even recommend PHP 7.3
Also, make sure to have NodeJS installed on your computer in order to use the npm package manager during assets installation on later tutorial part.
We recommend you to install their LTS version if you haven’t yet installed it on your machine.
Create a new project
In order to start a new Themosis framework project, open your terminal or console and run the following command:
composer create-project themosis/themosis my-blogThe composer create-project command takes 2 arguments. The first one is the type of project themosis/themosis and the second one is the name of the directory where to store the project.
Once the command is complete, a new Themosis framework project is created under a folder named my-blog.
Initially the create-project command only takes one argument. In our example, if we omit the directory name, composer will store the project into a
themosisfolder instead.
Setup local development environment
The next step is to first setup a local development environment for our application using Laravel Homestead.
Laravel Homestead is a Vagrant box that provides you all the necessary tools and software in order to run and test your application. Homestead is running thanks to Vagrant, so we first need to make sure it is installed on our machine.
First, install Vagrant by visiting their download page. Follow on screen steps and then install a virtual machine client. I generally use VirtualBox, but you can also install other clients like VMWare, Parallels or Hyper-V.
Once those softwares are installed on your machine, we need to add the Homestead box to vagrant. Run the following command from your terminal:
vagrant box add laravel/homesteadHere is also a little suggestion, I find it best to install the Vagrant hostupdater plugin to let Vagrant automatically update your machine etc/hosts file. From your Terminal or Console, simply run the following command:
vagrant plugin install vagrant-hostsupdaterLater on, during the bootstrap of your virtual machine, you will may be asked to enter your machine administrator password in order to let Vagrant update the etc/hosts file and let it insert your project domain name.
Now let’s initialize our local development environment. Still from the Terminal or Console, change the directory to the root of your recently created application my-blog and run this command:
php vendor/bin/homestead makeThe previous command will add the necessary files to your application so we can configure the behavior of Homestead and virtual machine. You should now find a Homestead.yml file at the root of your application, open the file.
By default, this Homestead configuration is setup for a Laravel project, so we need to do some tiny changes to make it work. Here is snippet on how your configuration file should look like:
ip: 192.168.10.10
memory: 2048
cpus: 1
provider: virtualbox
authorize: ~/.ssh/id_rsa.pub
keys:
    - ~/.ssh/id_rsa
folders:
    -
        map: '/your/local/path/my-blog'
        to: /home/vagrant/code
sites:
    -
        map: my-blog.test
        to: /home/vagrant/code/htdocs
databases:
    - homestead
name: my-blog
hostname: my-blog
Pay attention to the sites property. The to value is now pointing to the htdocs directory instead of the default public folder.
Under the databases property, you can define the name for your database. Here we’re keeping the default one but you are free to choose.
Also, in order to connect to the database, Homestead is also defining a database username and password by default. The username is always homestead and the password secret. We will need this information when defining the values in our environment file later on.
When you work with Homestead, it installs your application into the /home/vagrant/code directory by default inside the virtual machine. So if you want to look after your files inside the VM, make sure to cd into this path.
Now that your local Homestead/Vagrant configuration is complete, let’s start the virtual machine by running this command:
vagrant upThis command must be run at the root of your application, where the Vagrantfile is sitted. The command may take several minutes the first time you’re working with Homestead but don’t worry and let it run until completion.
When you want to stop working on your application, you can stop the virtual machine by running the
vagrant haltcommand.
Now that our virtual machine is launched and our local development is running, let’s first install a new theme, setup our application environment and install WordPress.
Install the theme
When you start a new project with the Themosis framework, since version 2.0, no theme is installed by default. The framework provides a CLI command to create and install a theme and we’re going to use this command to start our blog theme.
First, connect into your virtual machine by using this command:
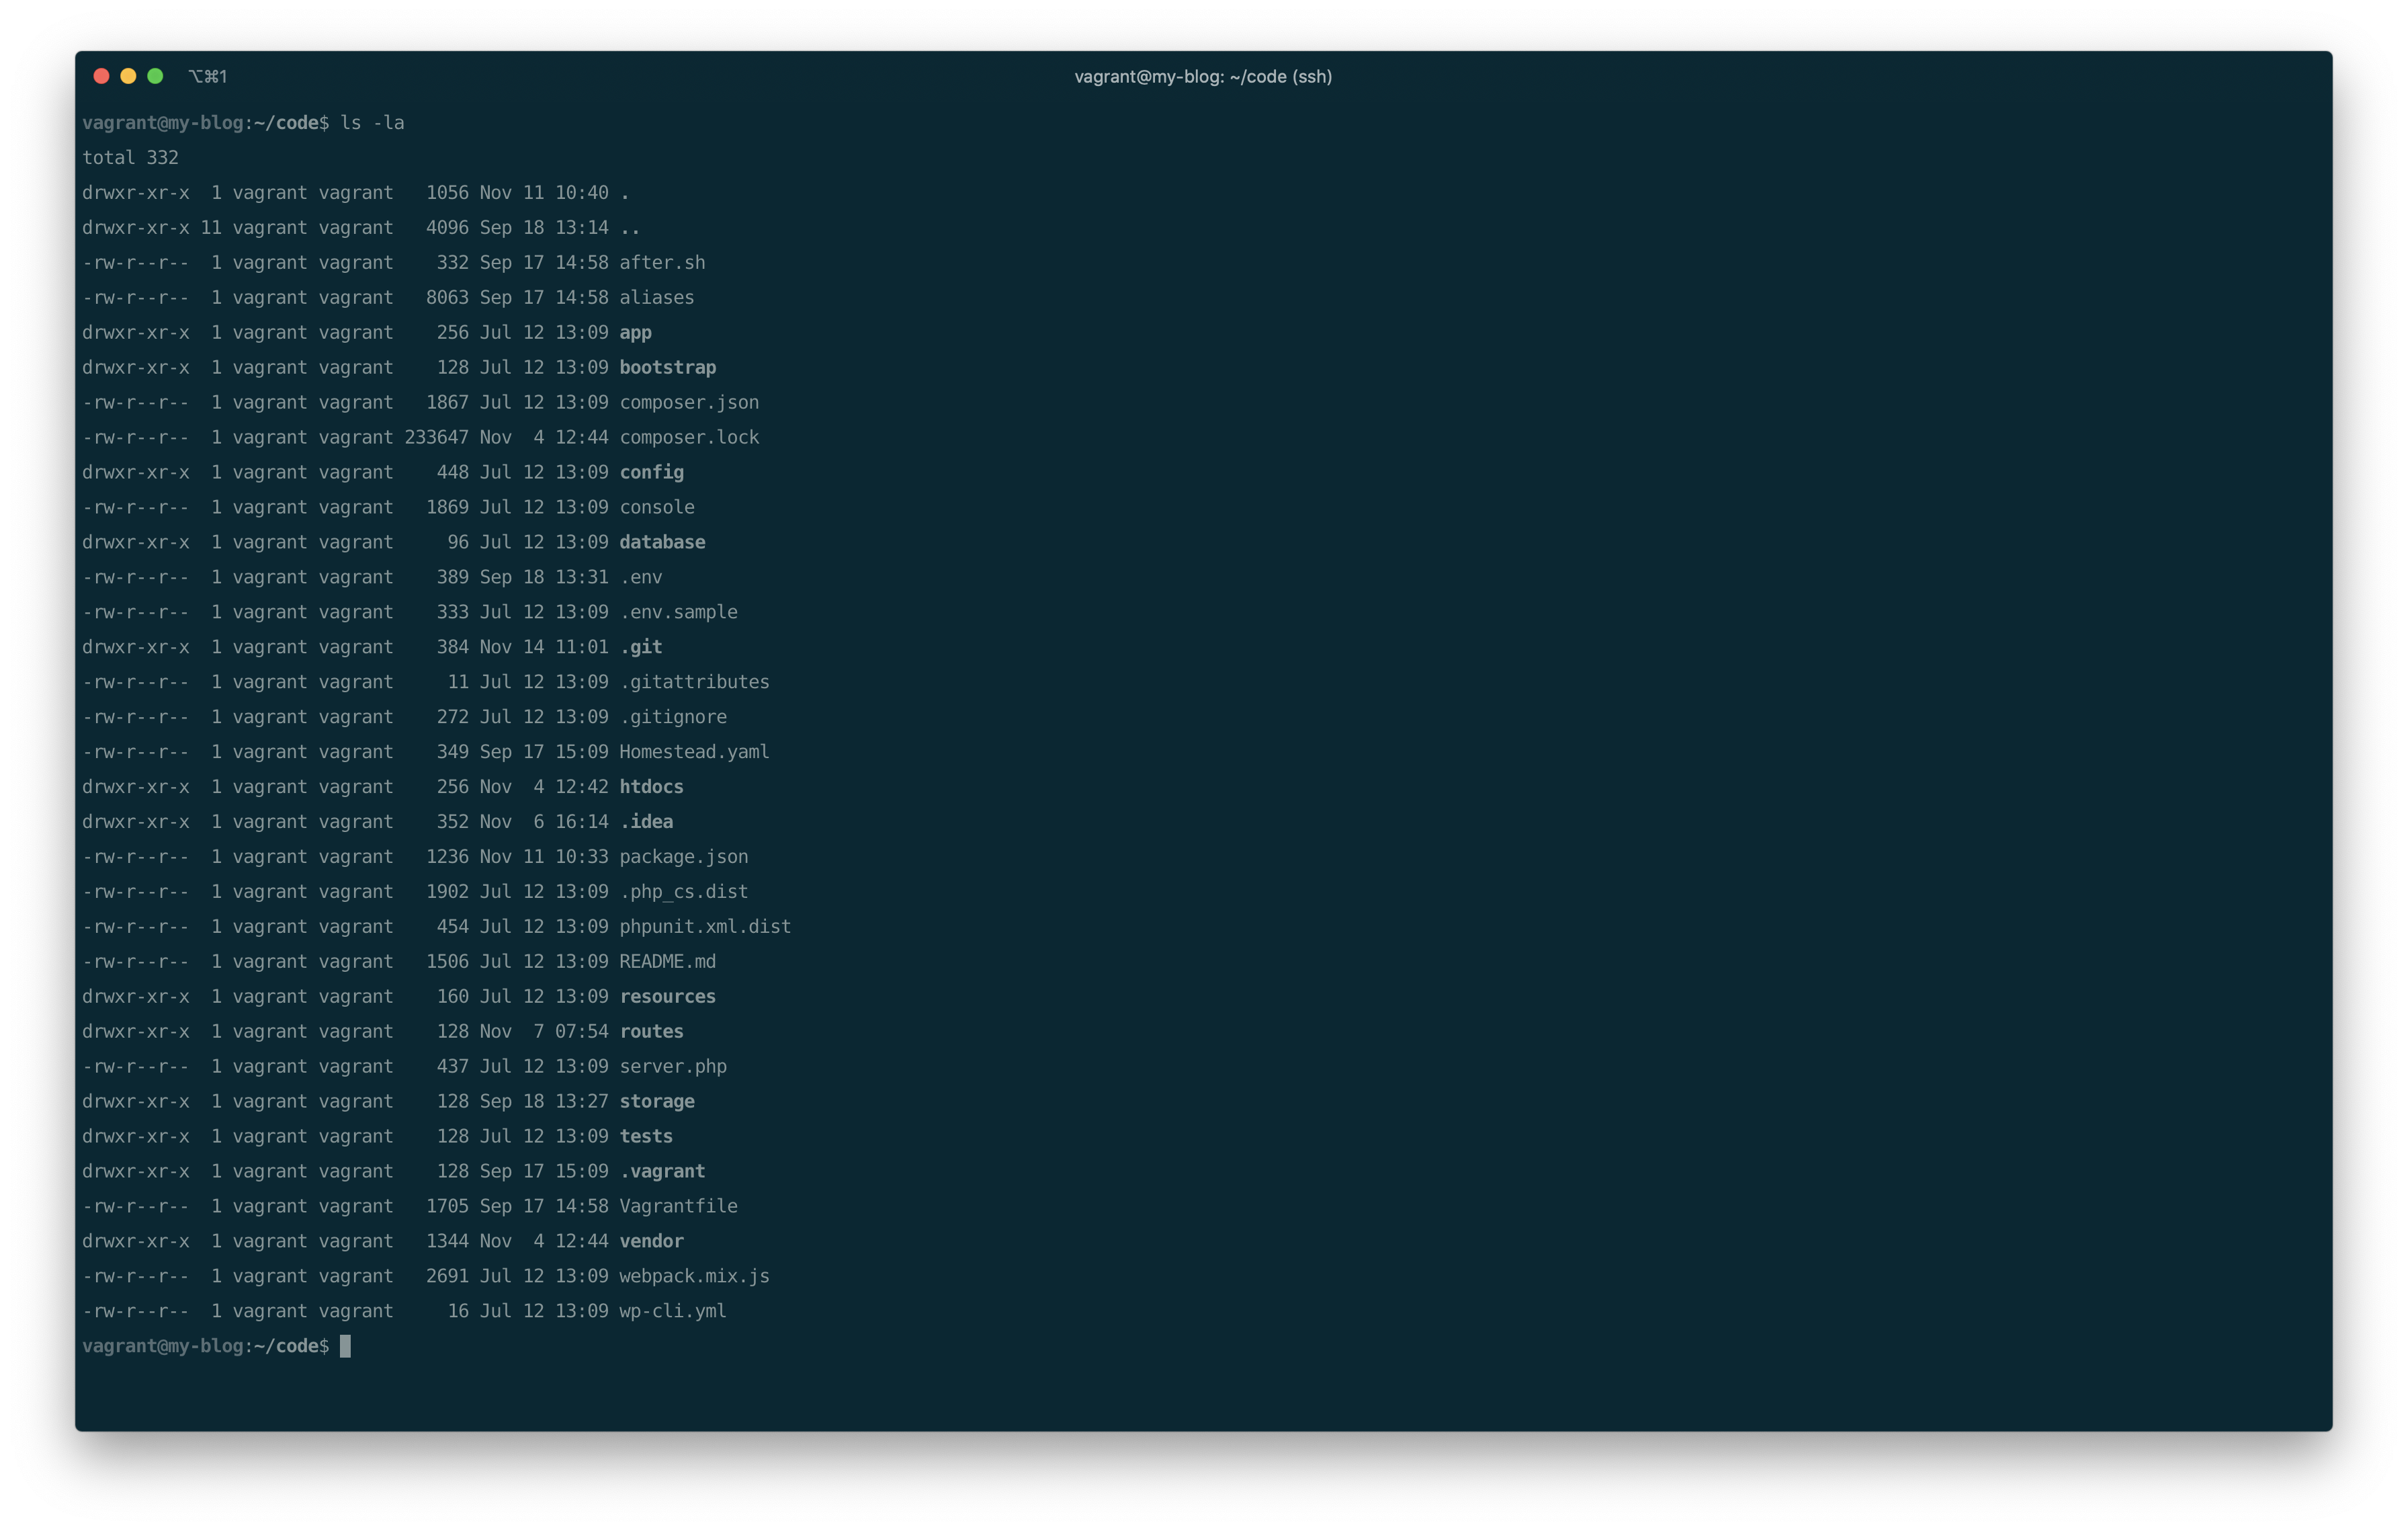
vagrant sshThe above command is going to connect you to your virtual machine home directory. We then need to change the directory and move into our application folder, remember called code:
cd codeIf you list your files using the ls -l command, you should now see your application:
Now, let’s install a theme using the new CLI tool provided with the framework. From the terminal, at the root of your application, run the theme:install command and pass it the twentynineteen name parameter like so:
php console theme:install twentynineteenThe command will download a new theme boilerplate and install it into your htdocs/content/themes/twentynineteen folder. It also configures your theme as the default one and sets its header properties inside the style.css file.
Ok, we now have a default theme prepared, let’s setup our application environment file (.env) and install WordPress.
Configure your environment
Compared to a classic WordPress installation, you never have to manipulate the popular wp-config.php file. Instead, you will use another file named .env. That file is located at the root of your application during at installation.
This .env file is what is called an “environment file”. Meaning that you can list a bunch of variables into it and their values will be loaded as, well, environment variables. An environment variable can be read using a core PHP function like getenv() or they can be found into the global variables $_SERVER and $_ENV as well. The general practice of using such a file is to store service access like for example your credentials to connect to a database, set your application cache, set its debug behavior or access a service REST API by storing a key, … Basically, this environment file is going to store all sensitive data needed to run your application and/or connect to third party services.
In our case, we use the .env file to setup the URL to our application, set the URL to WordPress and set the database access. Open your .env file from your code editor. You should see something similar to this:
APP_ENV=local
APP_DEBUG=true
APP_KEY=base64:QTfkNNJIpb0U9V5AGWIZTUQ/6X8psixP37Q0yWiefm0=
APP_TD=themosis

APP_URL=http://local.test
WP_URL=http://local.test/cms

DATABASE_NAME=themosis
DATABASE_USER=homestead
DATABASE_PASSWORD=secret
DATABASE_HOST=localhost

MAIL_HOST=your-smtp-host
MAIL_USERNAME=null
MAIL_PASSWORD=null
MAIL_FROM_ADDRESS=noreply@themosis.com
MAIL_FROM_NAME=Themosis
We’re going to modify this default configuration with the one below. Here are the main variables that we need to change:
- APP_URL: the URL of our application/website
- WP_URL: the URL where WordPress is installed
- DATABASE_NAME: the database name value
- DATABASE_USER: the database account username
- DATABASE_PASSWORD: the database account password
Change those variables values to look something like this:
APP_URL=http://my-blog.test
WP_URL=http://my-blog.test/cms

DATABASE_NAME=homestead
DATABASE_USER=homestead
DATABASE_PASSWORD=secret
And that’s it! This is all we need in order to configure the Themosis framework to install WordPress. Let’s install WordPress now!
If you notice that your
.envconfiguration variableAPP_KEYis empty, connect to your VM and run the following framework CLI commandphp console key:generateto fix the issue.
Install WordPress
Simply visit the http://my-blog.test URL in your browser. You should now see the WordPress installation screen.
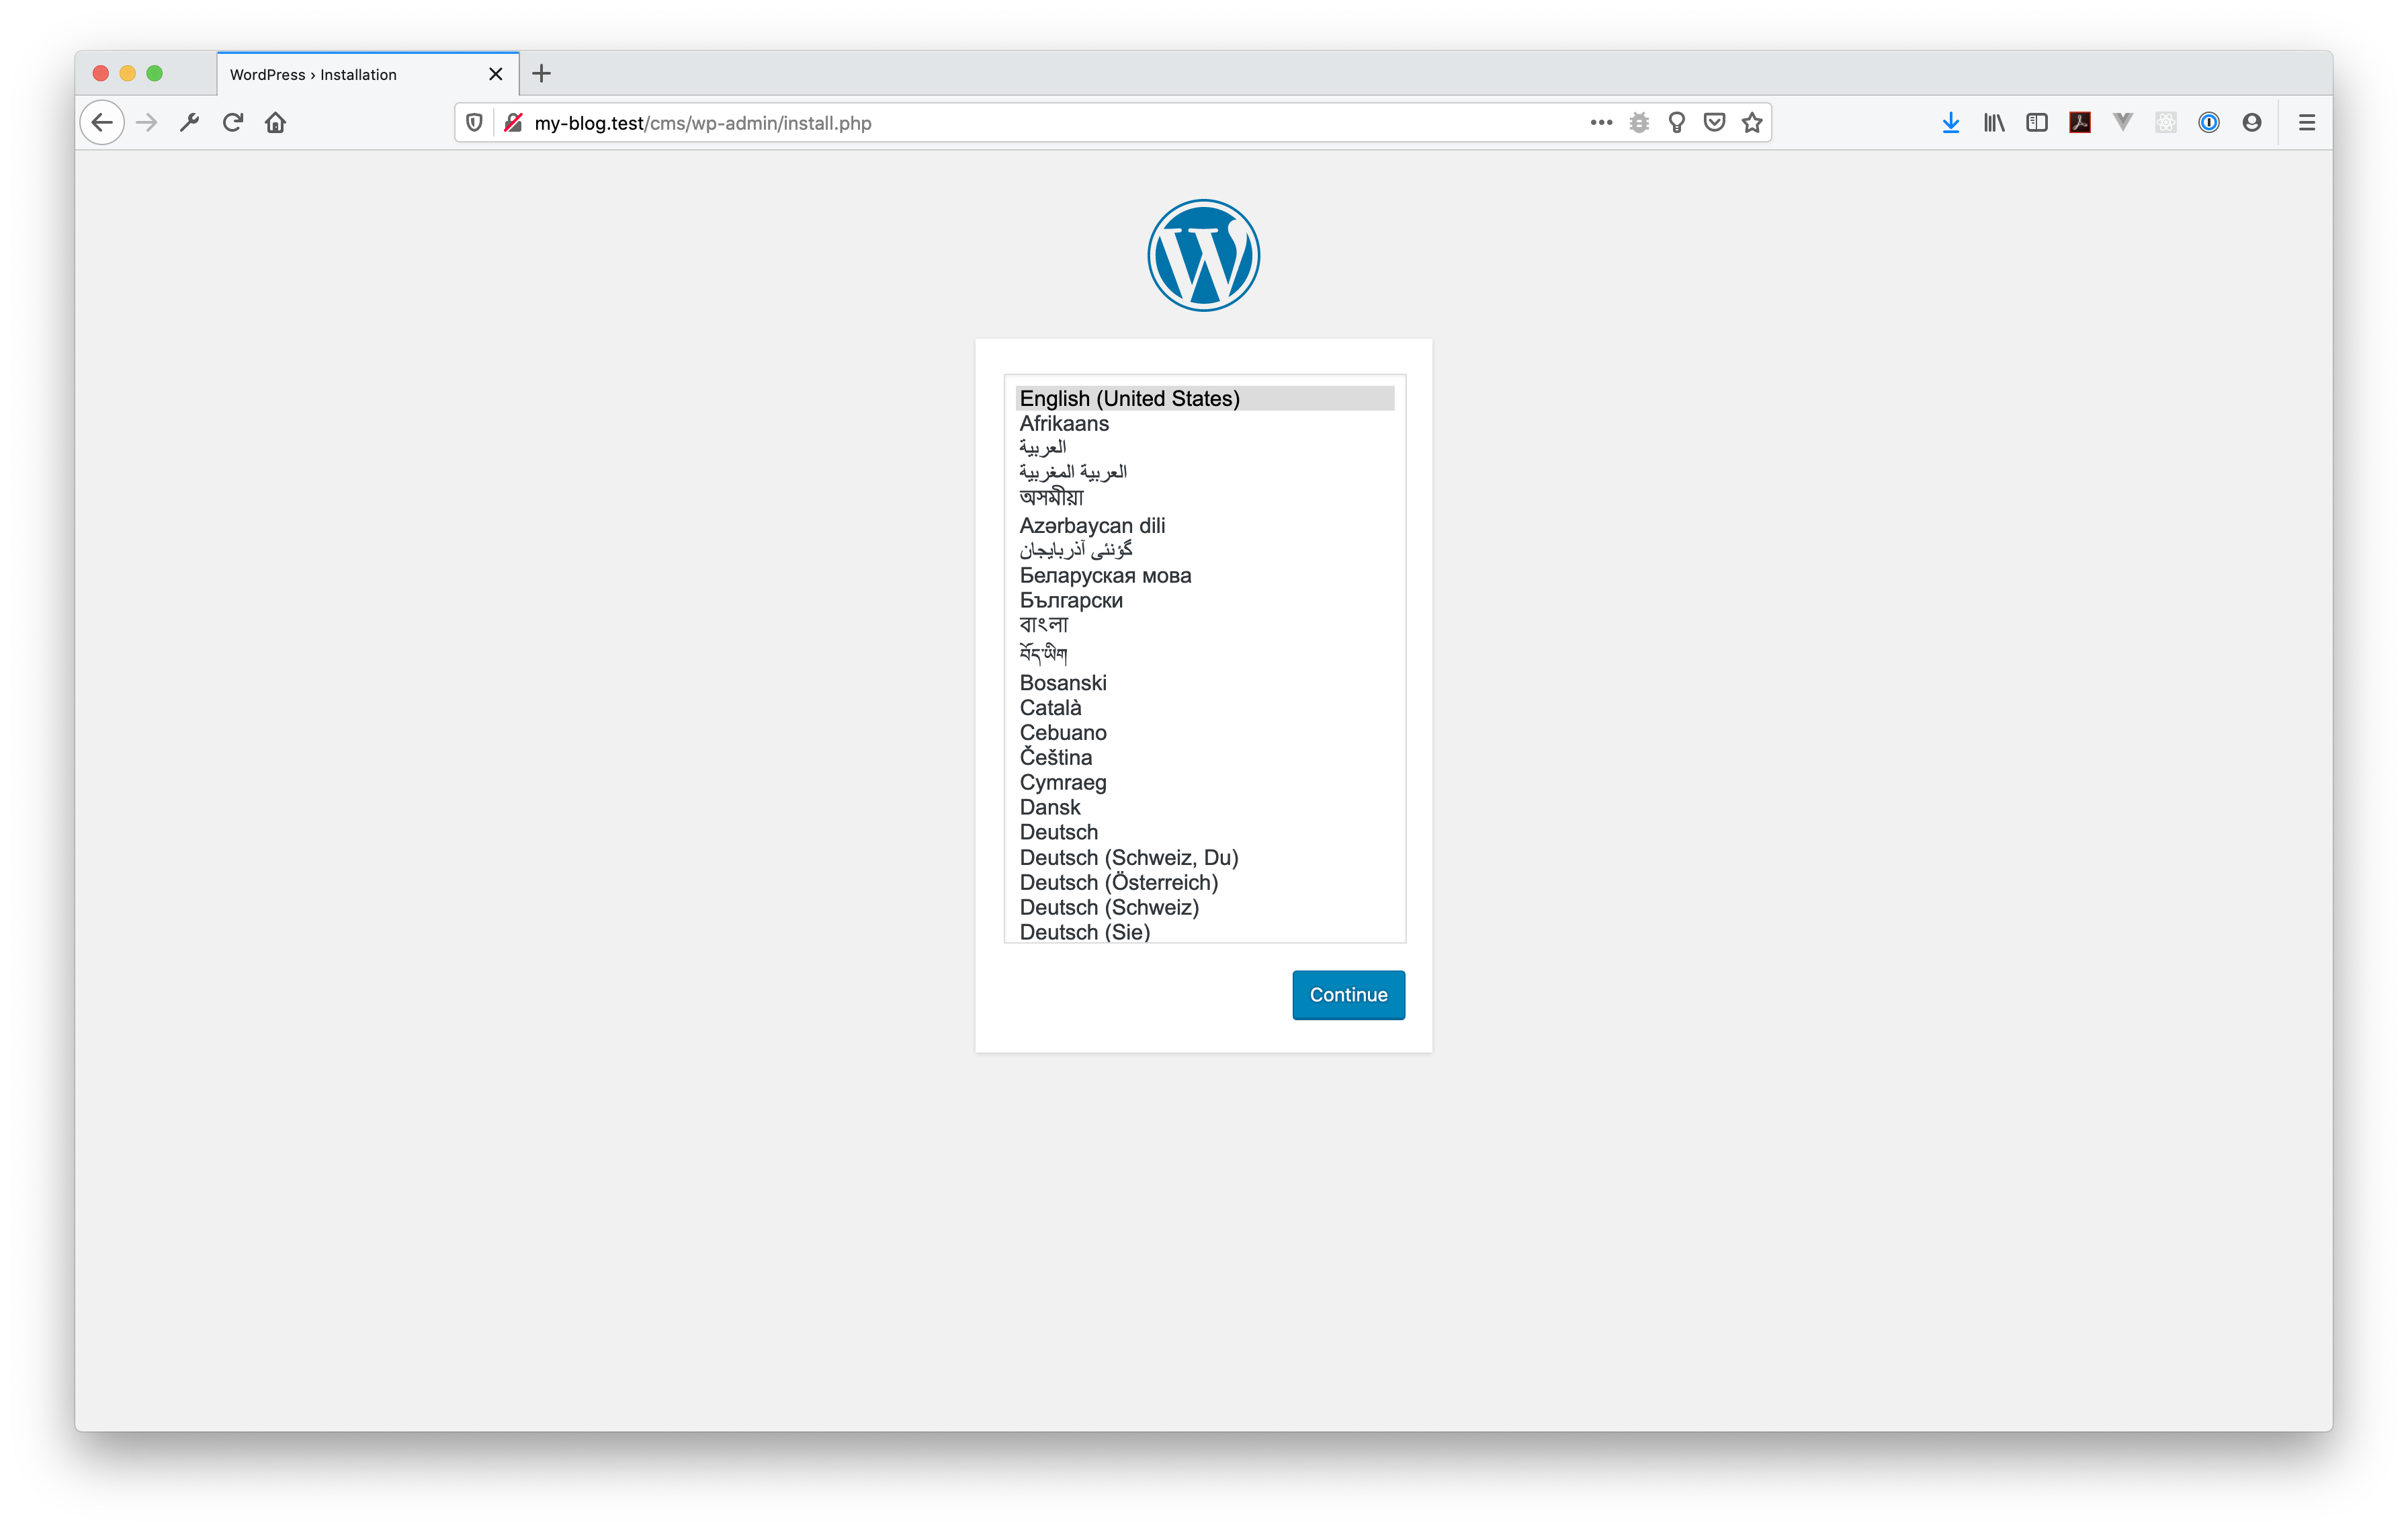
Follow the WordPress installation steps, set your application title, administrator email, password and then login into the WordPress administration.
Note the URL where WordPress is accessed, it is now in a sub-directory called cms, so the URL to login is for example: http://my-blog.test/cms/wp-login.php.
Once logged in, you should be able to access the dashboard. Now click to visit the front page and you should see the default “Welcome” screen provided by the Themosis framework:

Congratulations! You have installed a fresh copy of the Themosis framework. In the next article, we’re going to dig into the routing and how to setup our blog homepage.
Next: Getting started with the Themosis framework – Part 2
Resources
Here is a list of references to check if you’re looking for more detailed informations on a subject: